
How to Prepare Your Restaurant for a Photo or Video Shoot (A Complete Guide)
Great photography can completely transform the way customers see your restaurant. Whether you’re launching a new menu, refreshing your website, or levelling up your social media, a well-planned shoot can give you weeks — even months — of high-value content.
But the difference between good and incredible results often comes down to how well the restaurant prepares.
After shooting for dozens of restaurants across London — from fine dining tasting menus to neighbourhood favourites — here’s the exact process I recommend to get the most out of your food photography or videography day.

Mushroom and Lobster dish from Mauro Colagreco London
1. Choose the Right Time of Day for Your Restaurant
Lighting matters — a lot. And while I bring my own lighting kit, natural light still influences the ambience, reflections, and the overall mood of the restaurant.
Best time for interiors
Late morning or early afternoon, when the restaurant is empty and the space looks its best.
Best time for food photography
Midday to afternoon is ideal. The kitchen is usually calmer compared to service, and chefs have more room to focus on plating.
Best time for video
Before service or during a controlled prep session.
For action shots (chef plating, cocktails, ambience), we may also shoot short segments during actual service — but only when planned in advance.
2. Create a Shortlist of Dishes to Photograph
You don’t need every dish photographed. Instead, choose:
Hero dishes
Signature plates that define who you are.
High-impact dishes
Colourful, textured, impressive plating (your tortellini, monkfish, beetroot dust dishes would be perfect examples).
Seasonal or limited items
Especially for social media content calendars.
Add-ons
Cocktails, desserts, breads, snacks, sides — these fill gaps nicely and create scroll-stopping Reels.
Tip:
Aim for 6–12 dishes per half-day, or 12–20 for a full-day shoot, depending on plating complexity.
3. Prep Your Plates, Props & Surfaces
The details matter more than most people realise.
Checklist for the kitchen:
Clean plates (no scratches, chips, or water marks)
Wipe edges before they leave the pass
Ensure garnishes are fresh
Prepare tweezers, cloths, micro herbs etc.
Have backup portions in case one dies visually
Checklist for the dining room:
Wipe down tables
Remove clutter (menus, condiments, stray cutlery)
Steam or iron table linens
Check chairs are aligned
Props to have ready (optional):
Nice glassware
Seasonal elements
Fresh herbs, citrus, ingredients
Branded items (chopsticks, coasters, napkins)
All of this makes a difference in the final images.
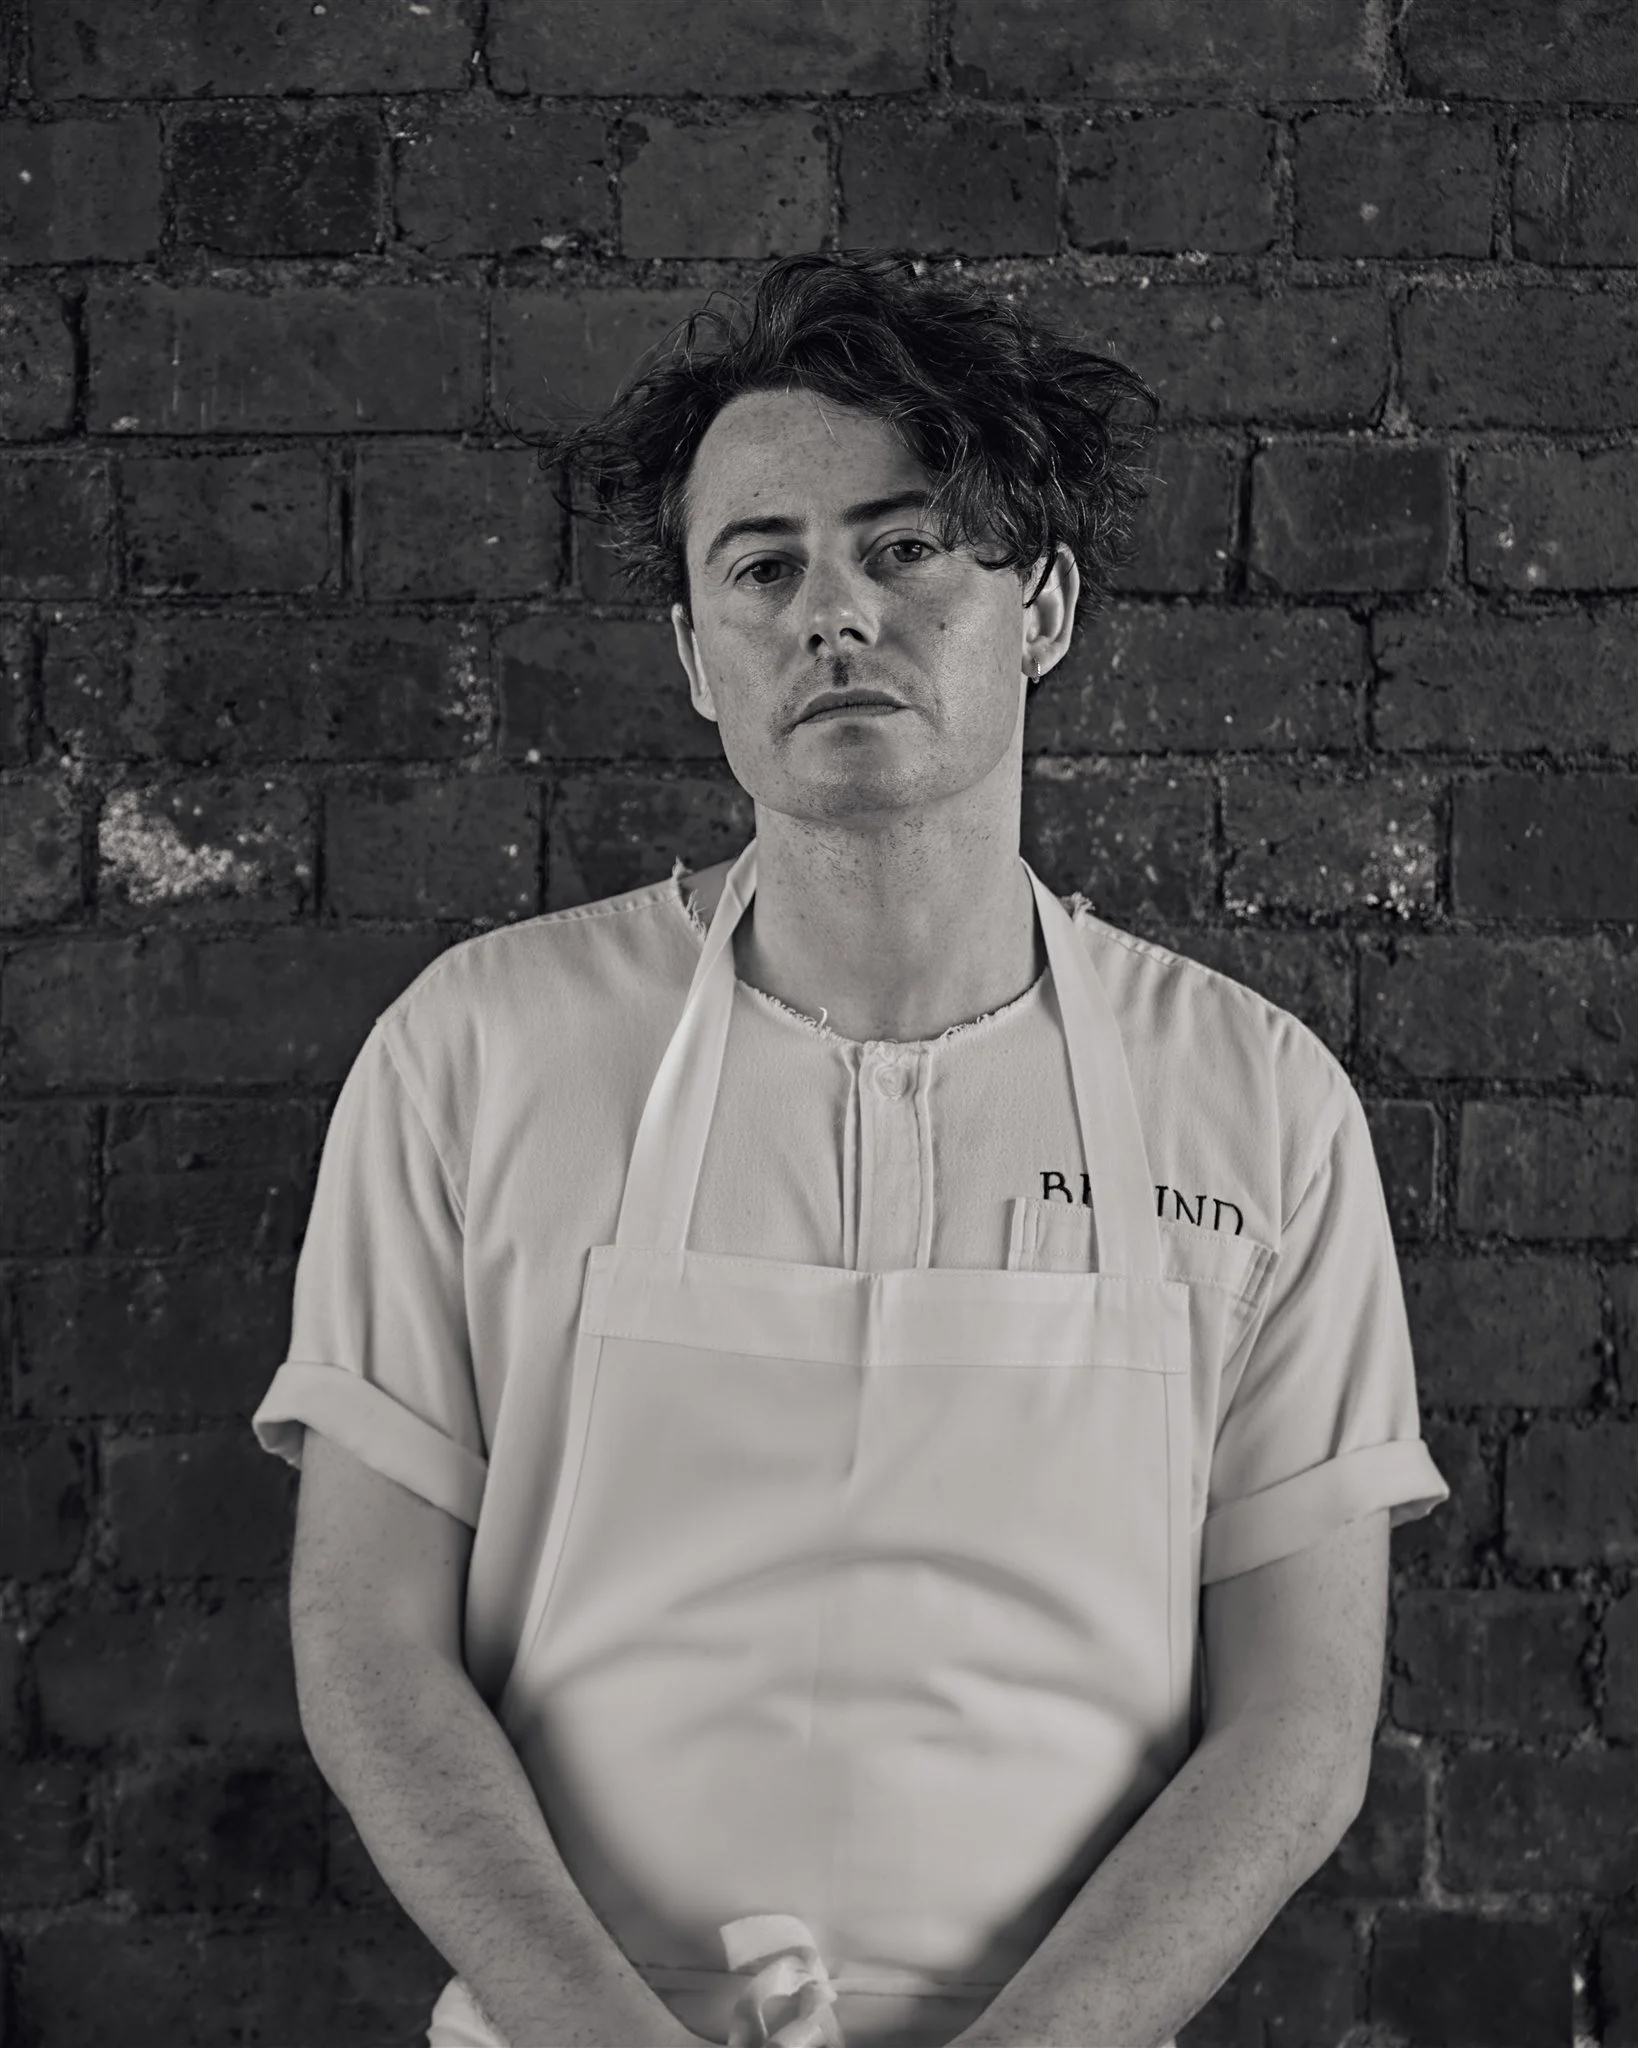
Andy Beynon owner at 1 Michelin Star restaurant Behind
4. Consider Who Should Be Present
A smooth shoot relies on the right people being there.
Chef or Head Chef
To plate dishes perfectly and tweak presentation.
Manager / Owner
To approve shots and guide storytelling.
Bar team
If drink photography or cocktail action shots are planned.
Front of house
Useful for lifestyle shots: pouring wine, carrying plates, setting tables.
Everyone should know the shoot is happening so prep runs smoothly.
5. Clean Up — Then Clean Again
Photography shows everything.
Tiny details that nobody notices in person become obvious in a still image.
Key areas to check:
Fingerprints on plates
Smudges on cutlery
Water marks on glassware
Dust on shelves
Reflections on metal or glass
Uneven tablecloths
Crooked frames or menus
A quick 10-minute sweep before shooting goes a long way.
6. Prepare a Rough Shot List
This doesn’t need to be complicated.
Basic shot list example for restaurant content:
6–10 hero dishes
2–3 cocktails
1–2 desserts
Chef plating
Close-ups of ingredients
Dining room interiors
Staff in action
A few lifestyle shots (hands, pouring, slicing, cheers, etc.)
A shot list gives direction — but we also stay flexible for creative opportunities.
7. Think About Your Content Goals
Before the shoot begins, decide what you actually want the content to do.
Are you promoting:
A new menu?
A new chef?
A brand launch?
Christmas season?
A tasting menu?
A new location?
Or are you creating content for:
Website refresh
Social media
Booking platforms
PR & press
Campaign
Reels / TikTok
Knowing this in advance helps us tailor the lighting, framing, and storytelling.
8. Leave Time for Creativity

Christmas campaign for Raffles at The OWO, London
Some of the best shots happen unplanned.
A chef wiping a plate.
A flame hitting a pan.
A spoon dragging jus.
A dish arriving at the pass.
A moment of laughter in the kitchen.
These “in-between” scenes add personality to your content and make your brand feel real.
9. Keep the Kitchen Flowing Smoothly
The key is communication.
Tell the team:
Which dishes need to be cooked first
How many portions are needed
Whether garnishes should be prepared for multiple takes
Timing to avoid clashing with prep or service
A well-coordinated kitchen = more time for more images = more content for you.
10. Trust the Process
You hired a professional for a reason.
Food photography and videography is a skill that blends:
Lighting
Timing
Colour theory
Composition
Hospitality knowledge
Storytelling
Once everything is prepped, the best thing you can do is let the creative process flow.
Final Say
Preparing your restaurant properly makes a massive difference in the final results. With the right dishes, the right team, and a clear plan, your shoot day becomes smooth, fun, and incredibly rewarding.
If you’re planning a menu launch, brand refresh, or just need a bank of premium visuals — get in touch and we’ll make something incredible together.